

Getting started
Connect your AI client to a Godot project in a few minutes.
Godot MCP Studio is a small desktop app that connects your AI client (Claude Code, Cursor, Cline and others) to your Godot project through a local MCP server. Here's the whole flow, start to finish.
1. Install the desktop app
Download Godot MCP Studio from the download page and open it. Lite is free and needs no license. For Pro, activate your license with the code from your dashboard. See Installation for platform notes and Editions & pricing to compare the two.
2. Pick your Godot project
The app detects your project by its project.godot file and shows the project name. The full path lives under Advanced.
3. Install the editor addon
Click Install addon. This copies the Godot MCP Studio dock into addons/godot_mcp_studio/ in your project. Enable it in Godot under Project → Project Settings → Plugins.
4. Generate your AI client config
Choose your client (Claude Code, Cursor, Cline, …) and copy the generated MCP configuration. Godot MCP Studio can also write AGENTS.md / CLAUDE.md into your project so your AI knows the house rules. Full walkthrough: Connect your AI client.
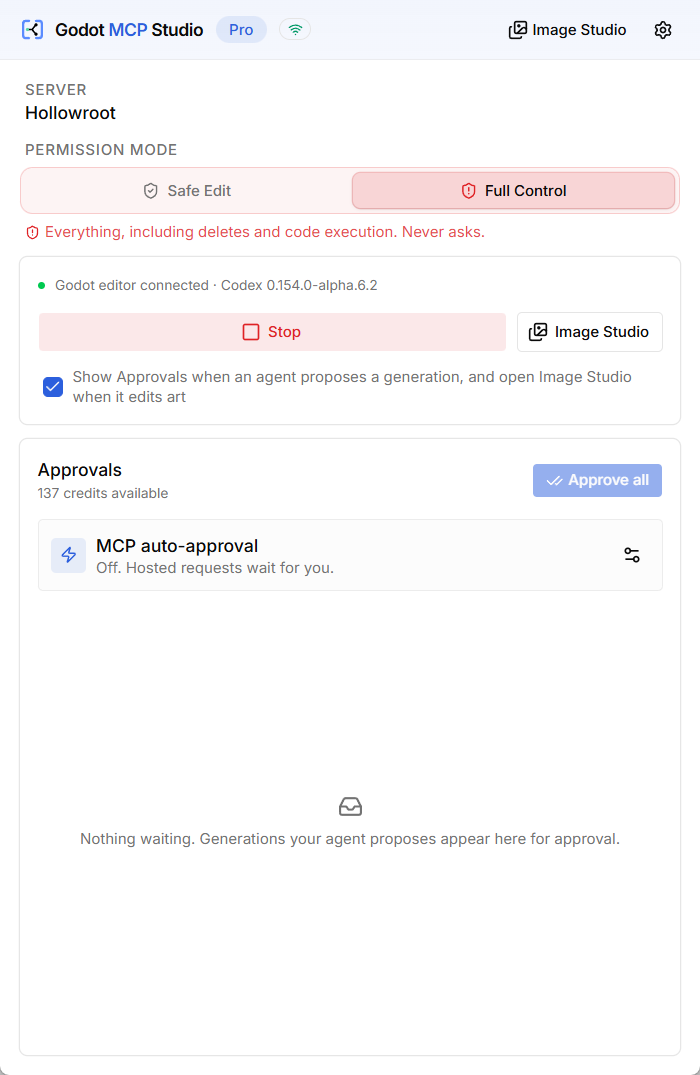
5. Choose a permission mode
Start in Safe Edit if you're unsure: it can create and edit, and asks before destructive actions or running code. See Permission modes.
6. Test the connection
Press Test connection. When Godot is open with the addon enabled, live tools like get_scene_tree work. You're ready to build.
Where to next
- Connect your AI client: per-client setup
- Permission modes: what each mode allows
- Live editing & the running game: the good stuff
- Image Studio: artwork tools, animation, tiles, and export
- Prompting for game art: write clearer image requests